How to Paint a Mother’s Day Flower Wreath Card!
May 1, 2025
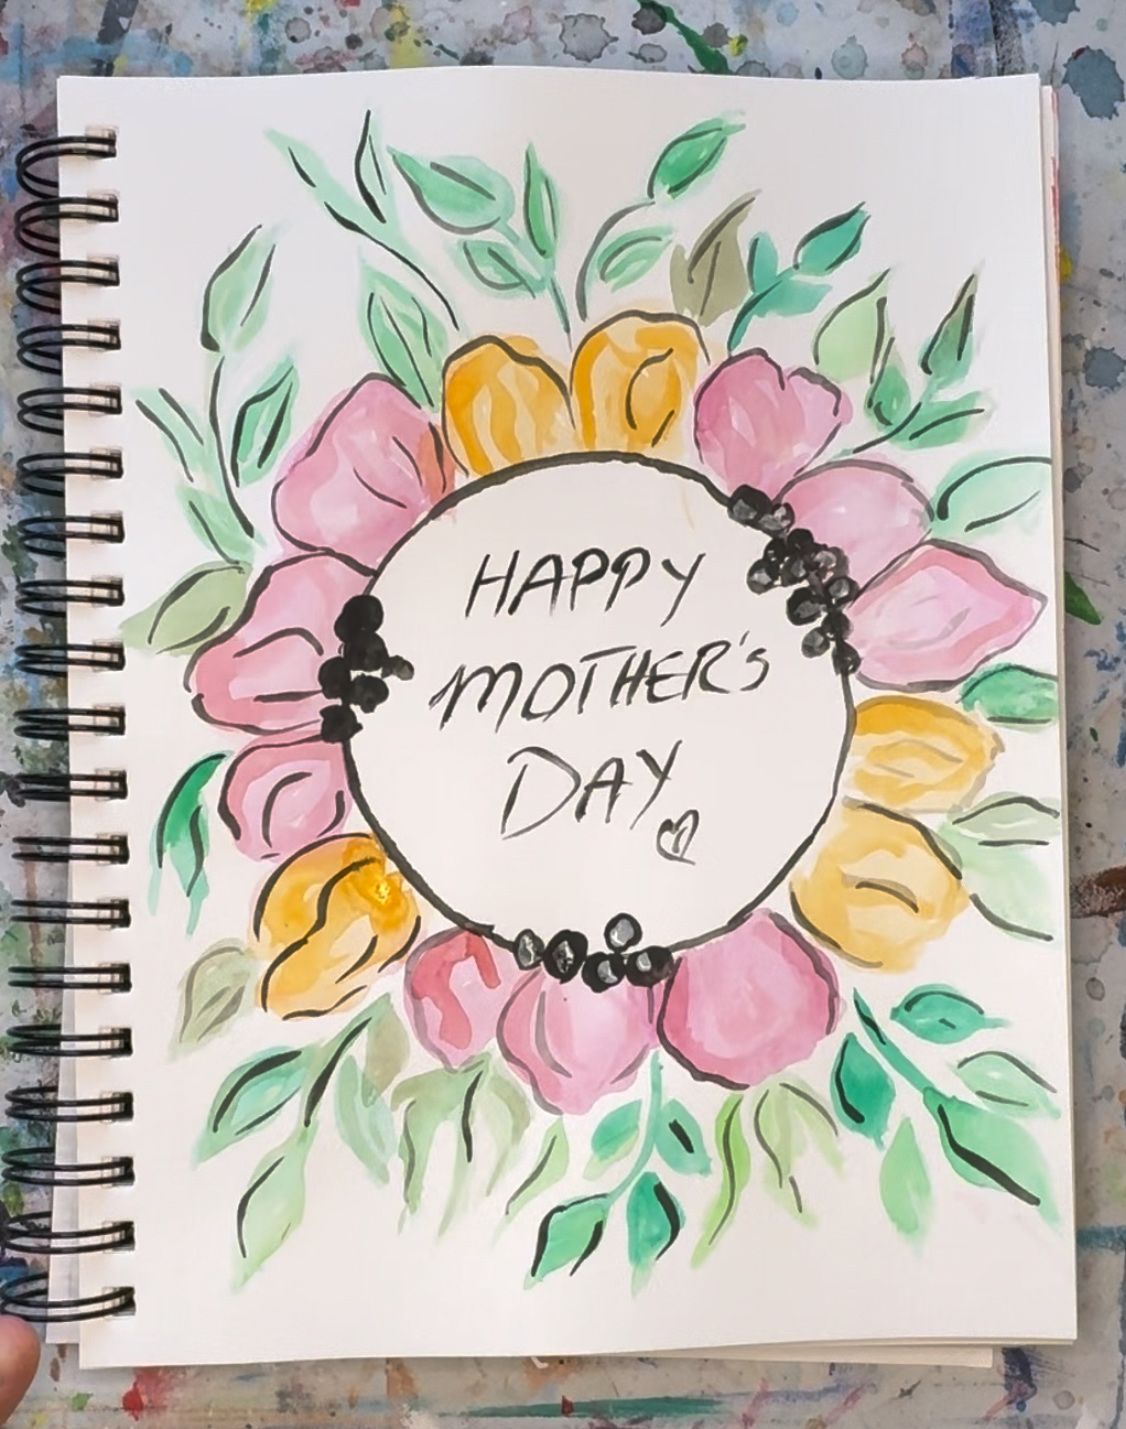
Create a Watercolor Flower Wreath Card for Mom!
Painting a flower wreath with watercolors is a delightful and creative project. Here are step-by-step instructions to guide you through the process:
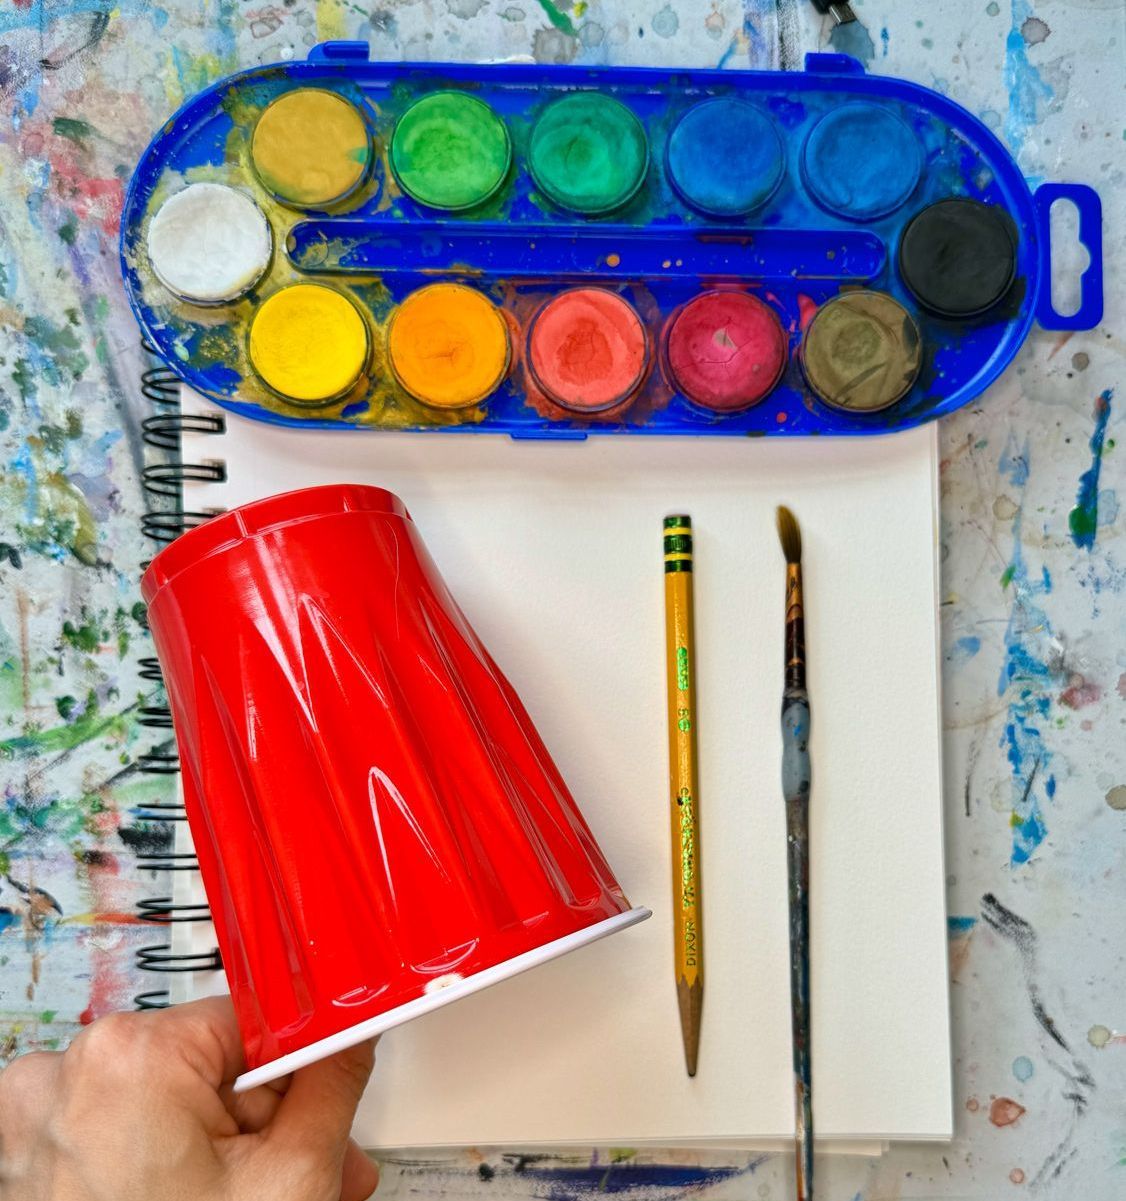
1. Materials Needed
- Watercolor paper (cold-pressed or hot-pressed)
- Watercolor paints (a variety of colors)
- Round watercolor brushes (different sizes)
- A palette for mixing colors
- A cup of water
- Paper towels
- Pencil (for sketching)
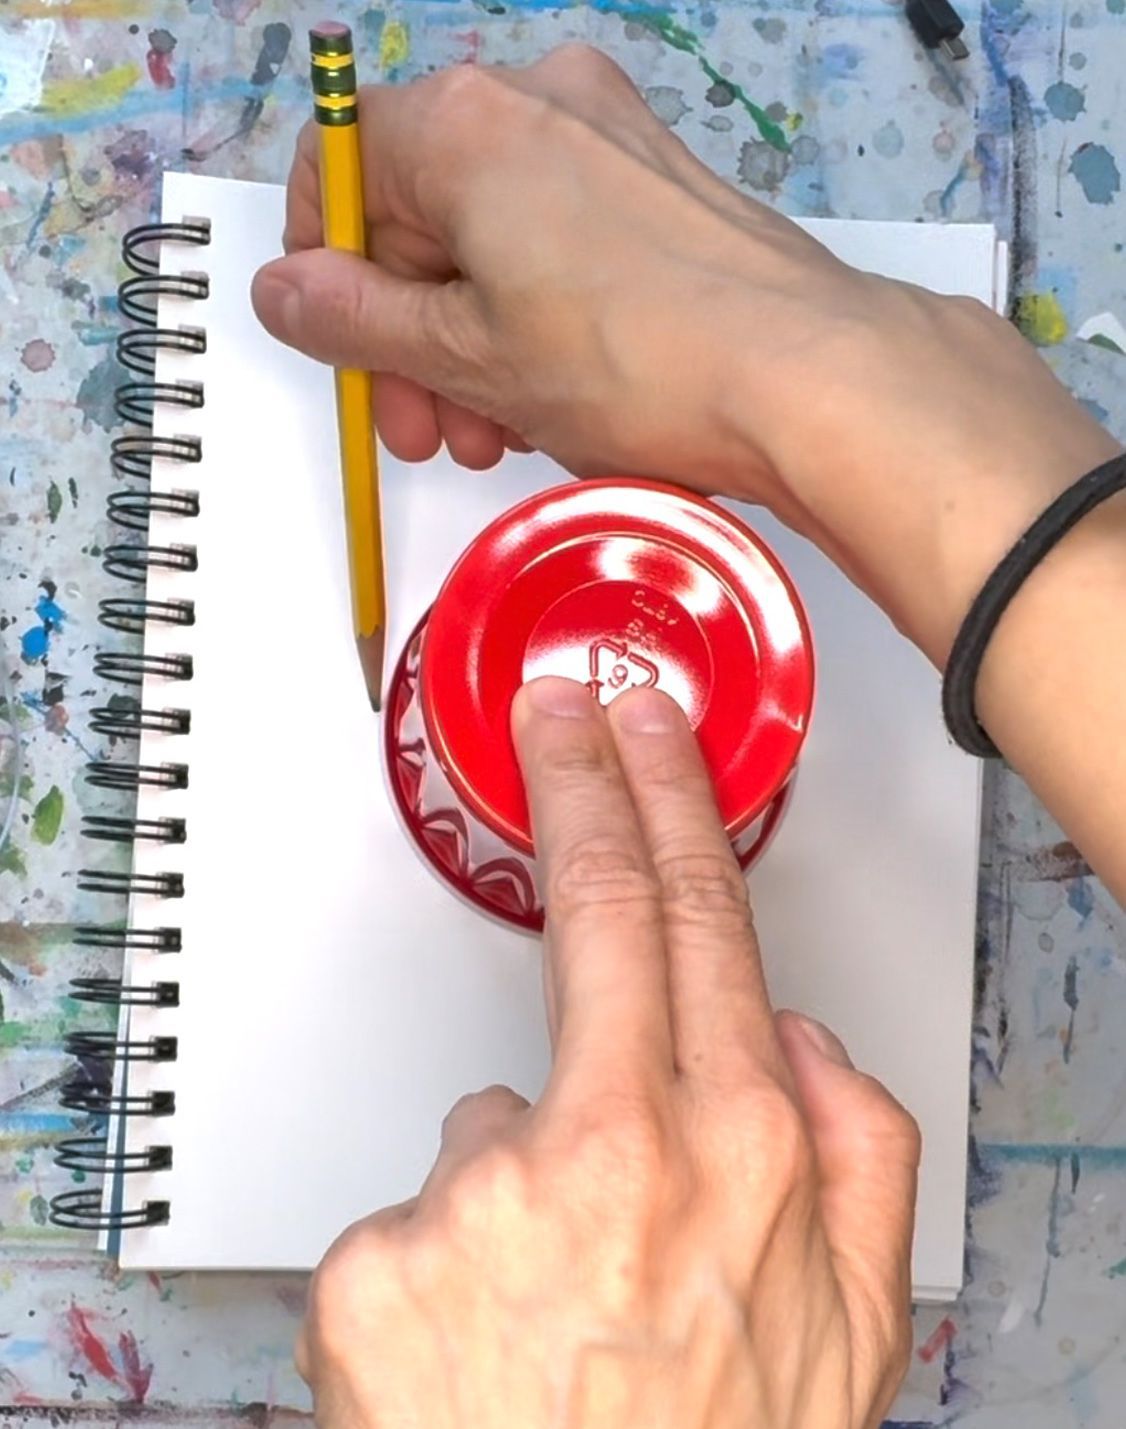
2. Sketch the Wreath
- Watercolor paper (cold-pressed or hot-pressed)
- Watercolor paints (a variety of colors)
- Round watercolor brushes (different sizes)
- A palette for mixing colors
- A cup of water
- Paper towels
- Pencil (for sketching)
3.
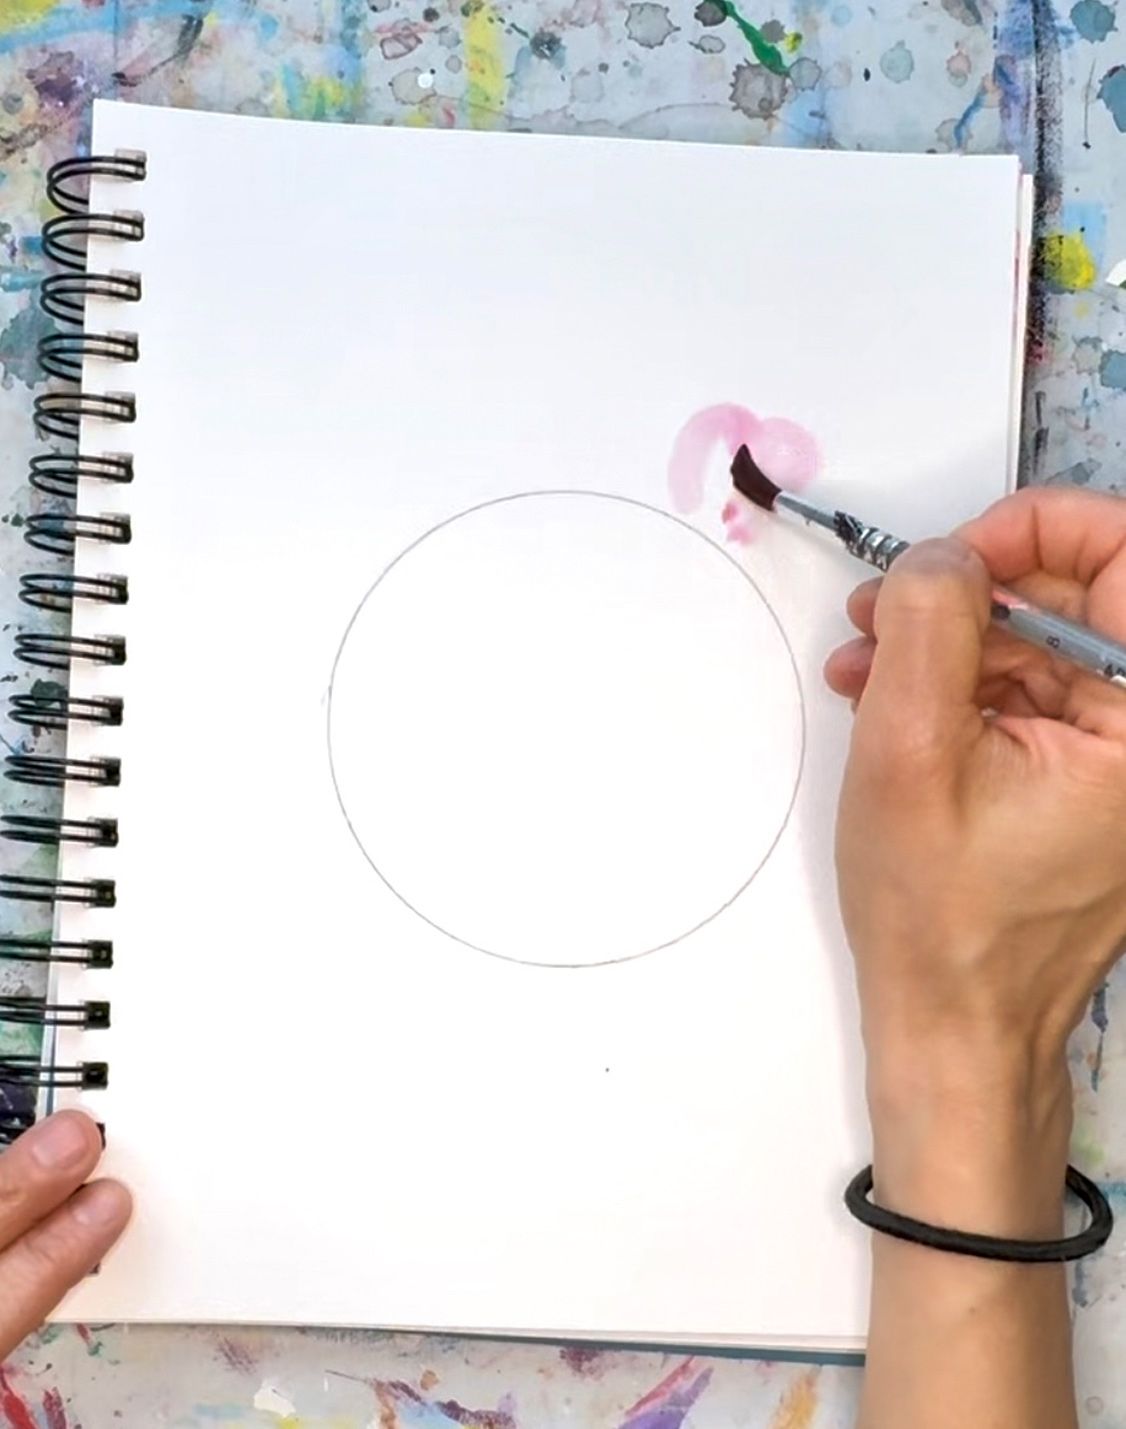
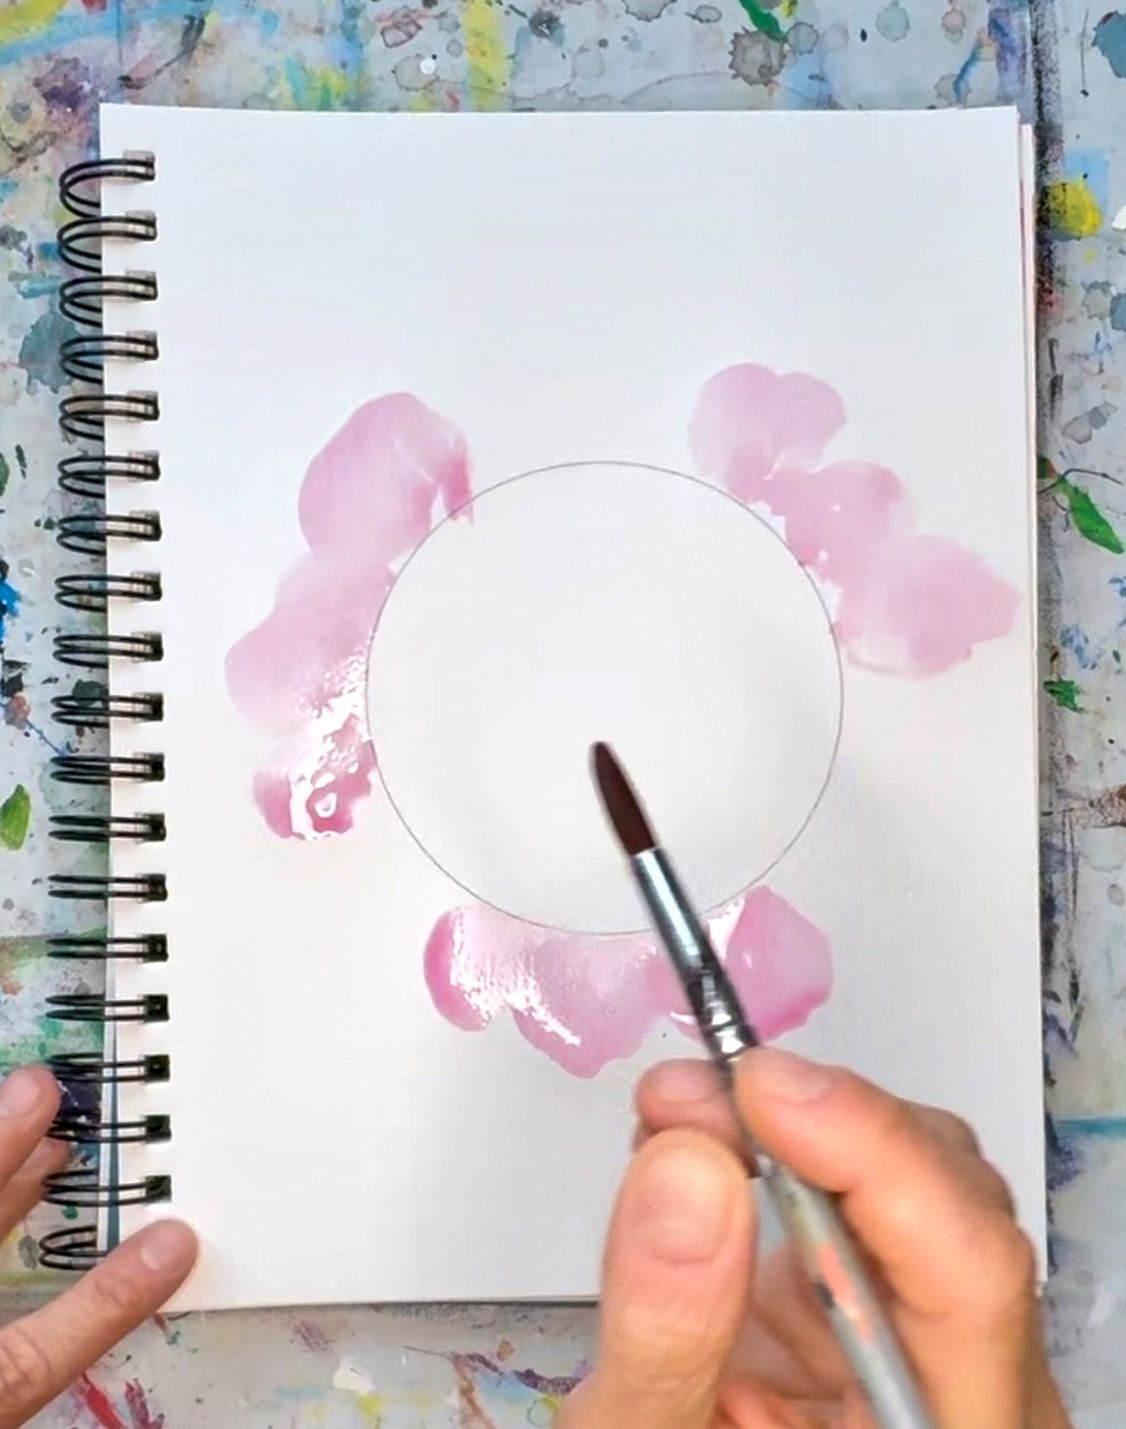
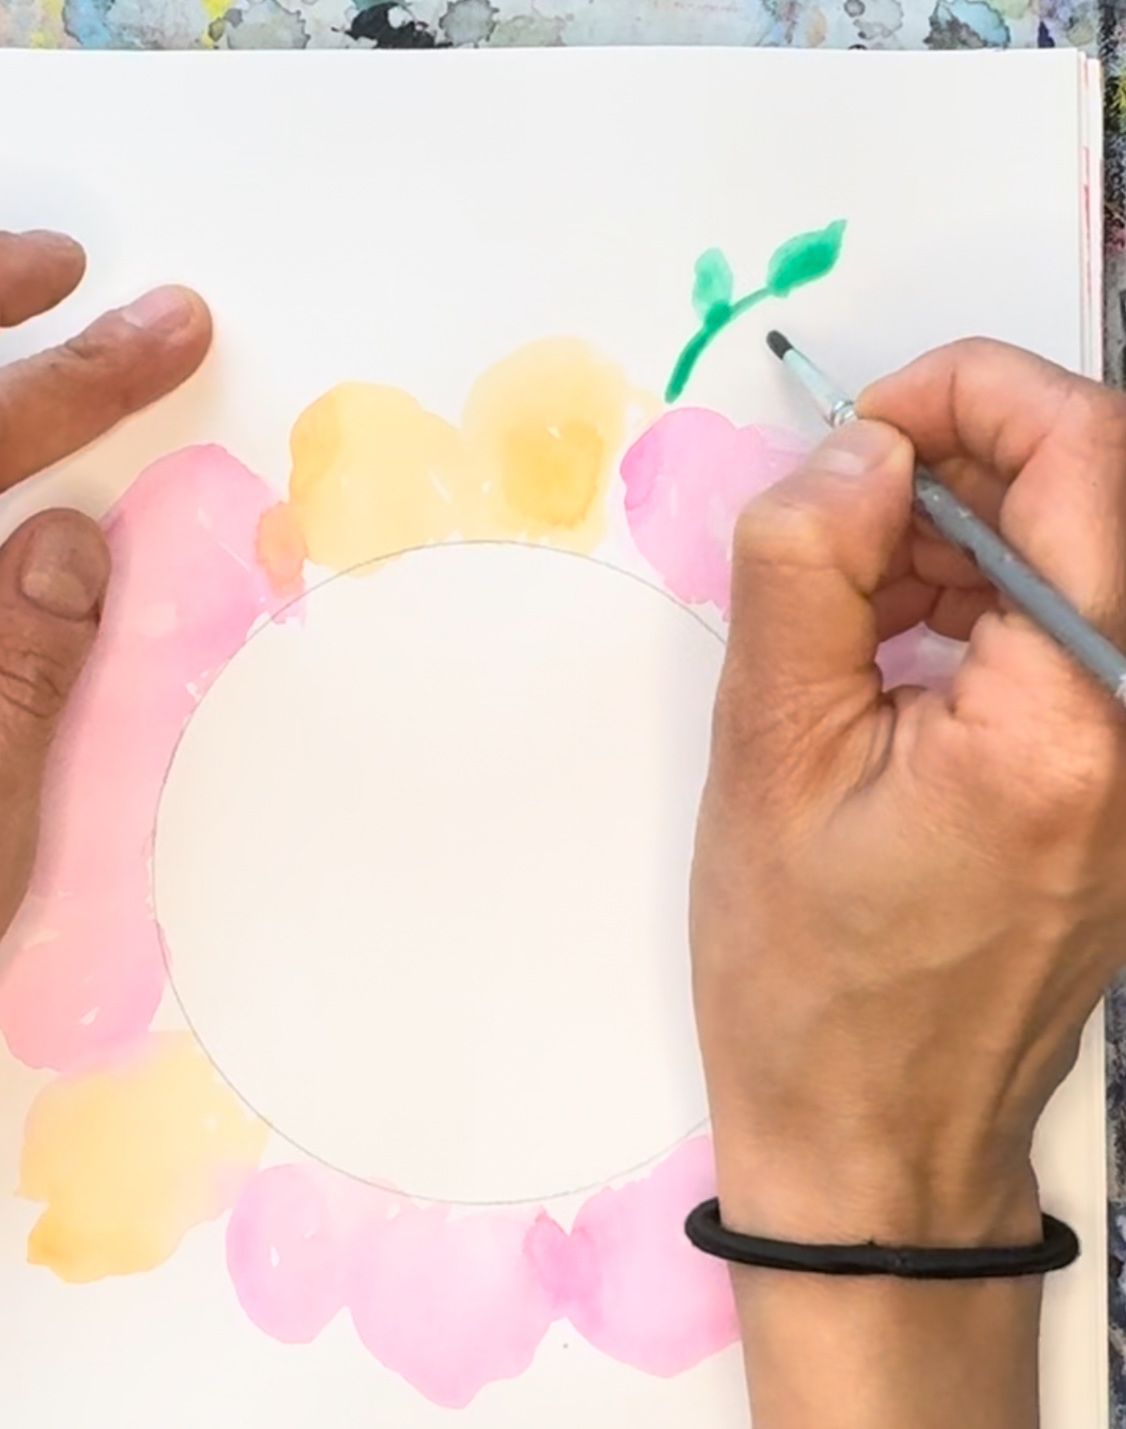
Paint the Flowers
- Start by painting simple flowers around the circle. Use a round brush with a point.
- Apply light pressure on the tip of the brush to create petal shapes. Press harder in the middle and release back to a point.
- Vary the size, direction, and transparency of the flowers. You can use red, purple, or any other color you like.
4. Add Stems and Leaves:
- Start by painting simple flowers around the circle. Use a round brush with a point.
- Apply light pressure on the tip of the brush to create petal shapes. Press harder in the middle and release back to a point.
- Vary the size, direction, and transparency of the flowers. You can use red, purple, or any other color you like.
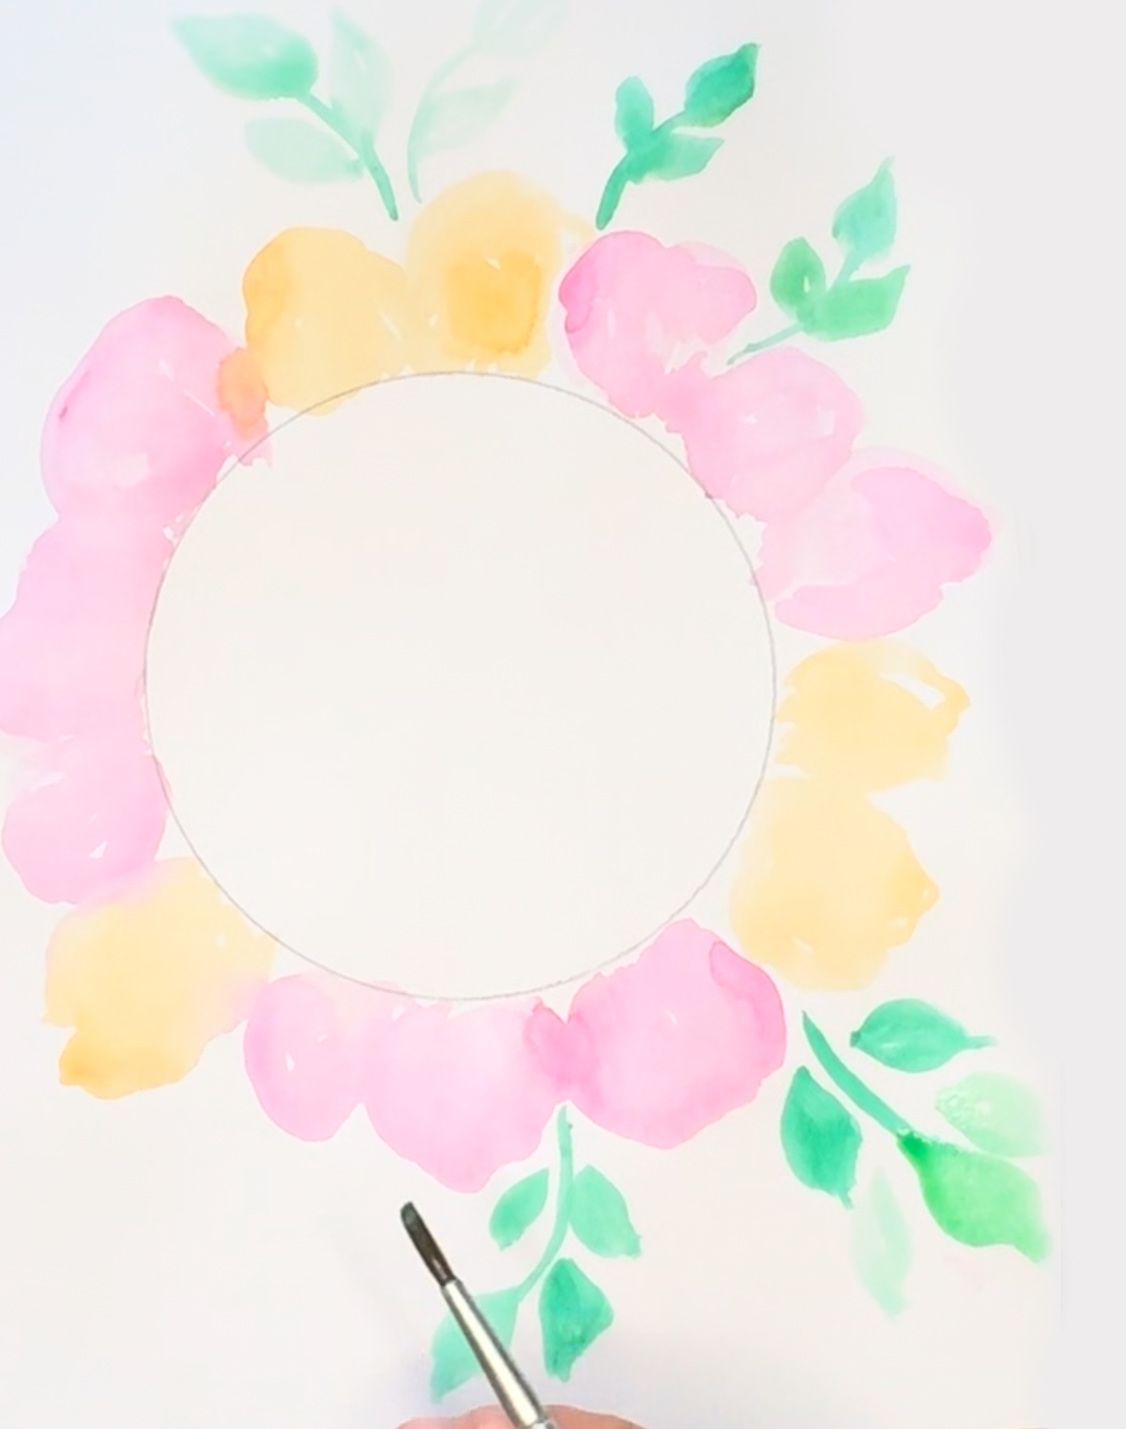
5. Create Dimension
- Once the painting is dry, add darker colors to the flowers to create depth.
- Focus on the bottom half of the petals and use the same pressure technique as before.
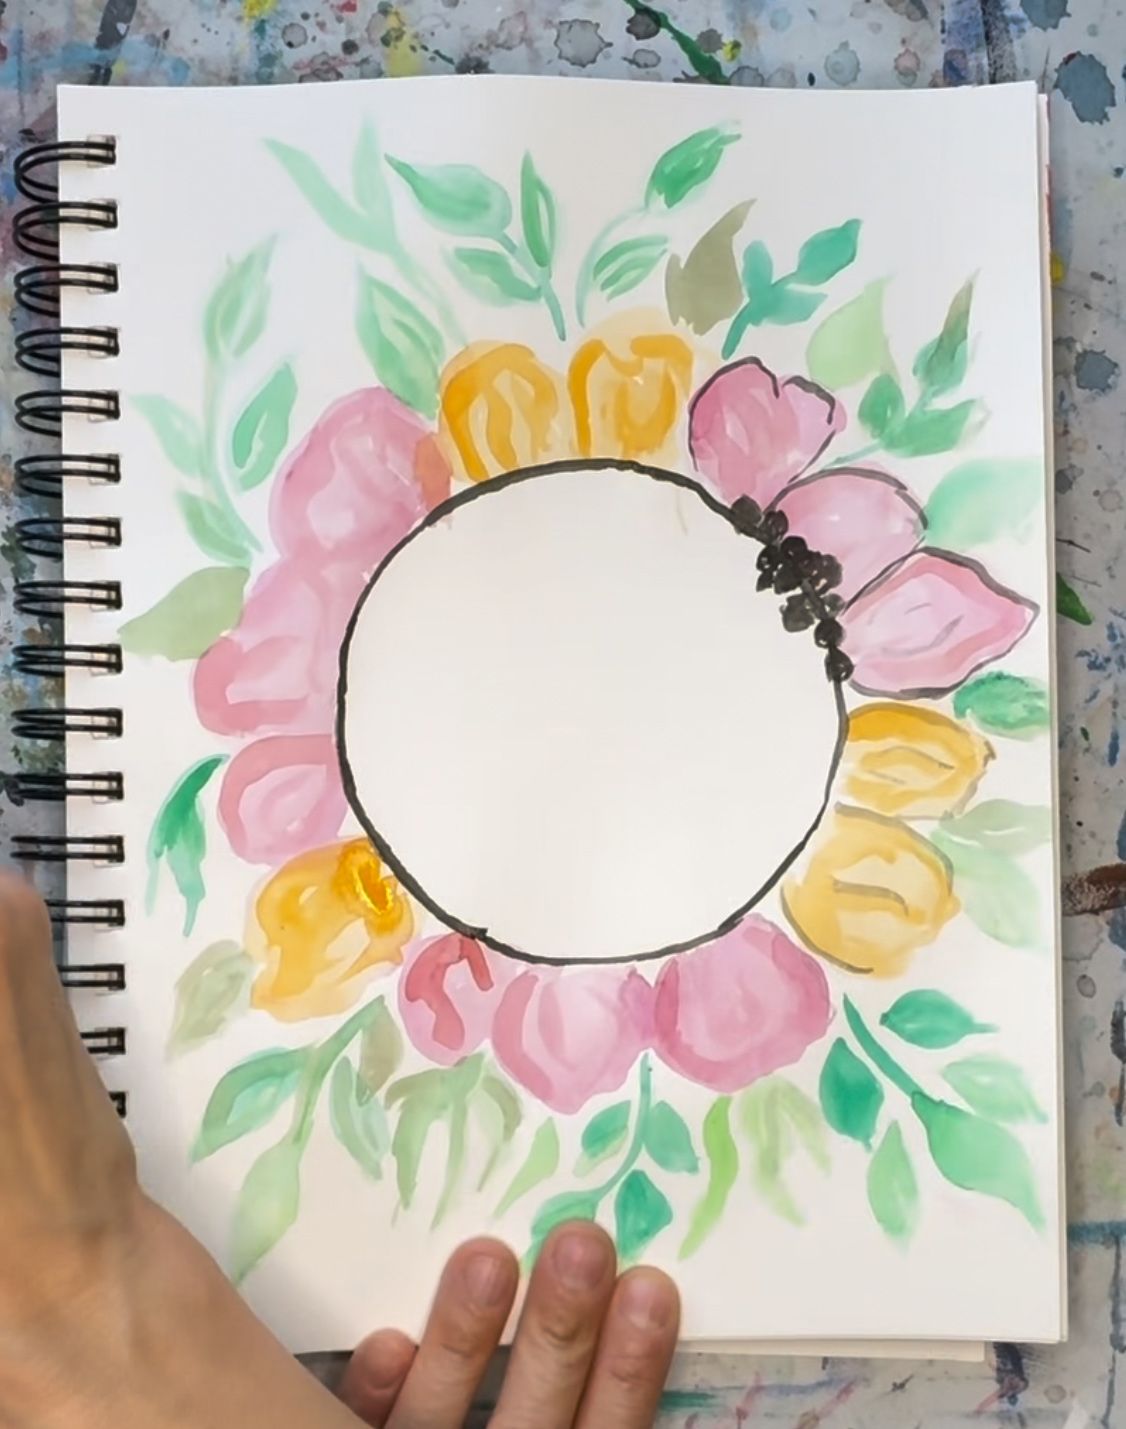
6. Erase the Pencil Lines
- Gently erase the pencil circle to reveal your wreath.
- Add any additional details, such as lines on the leaves or pollen in the flowers.

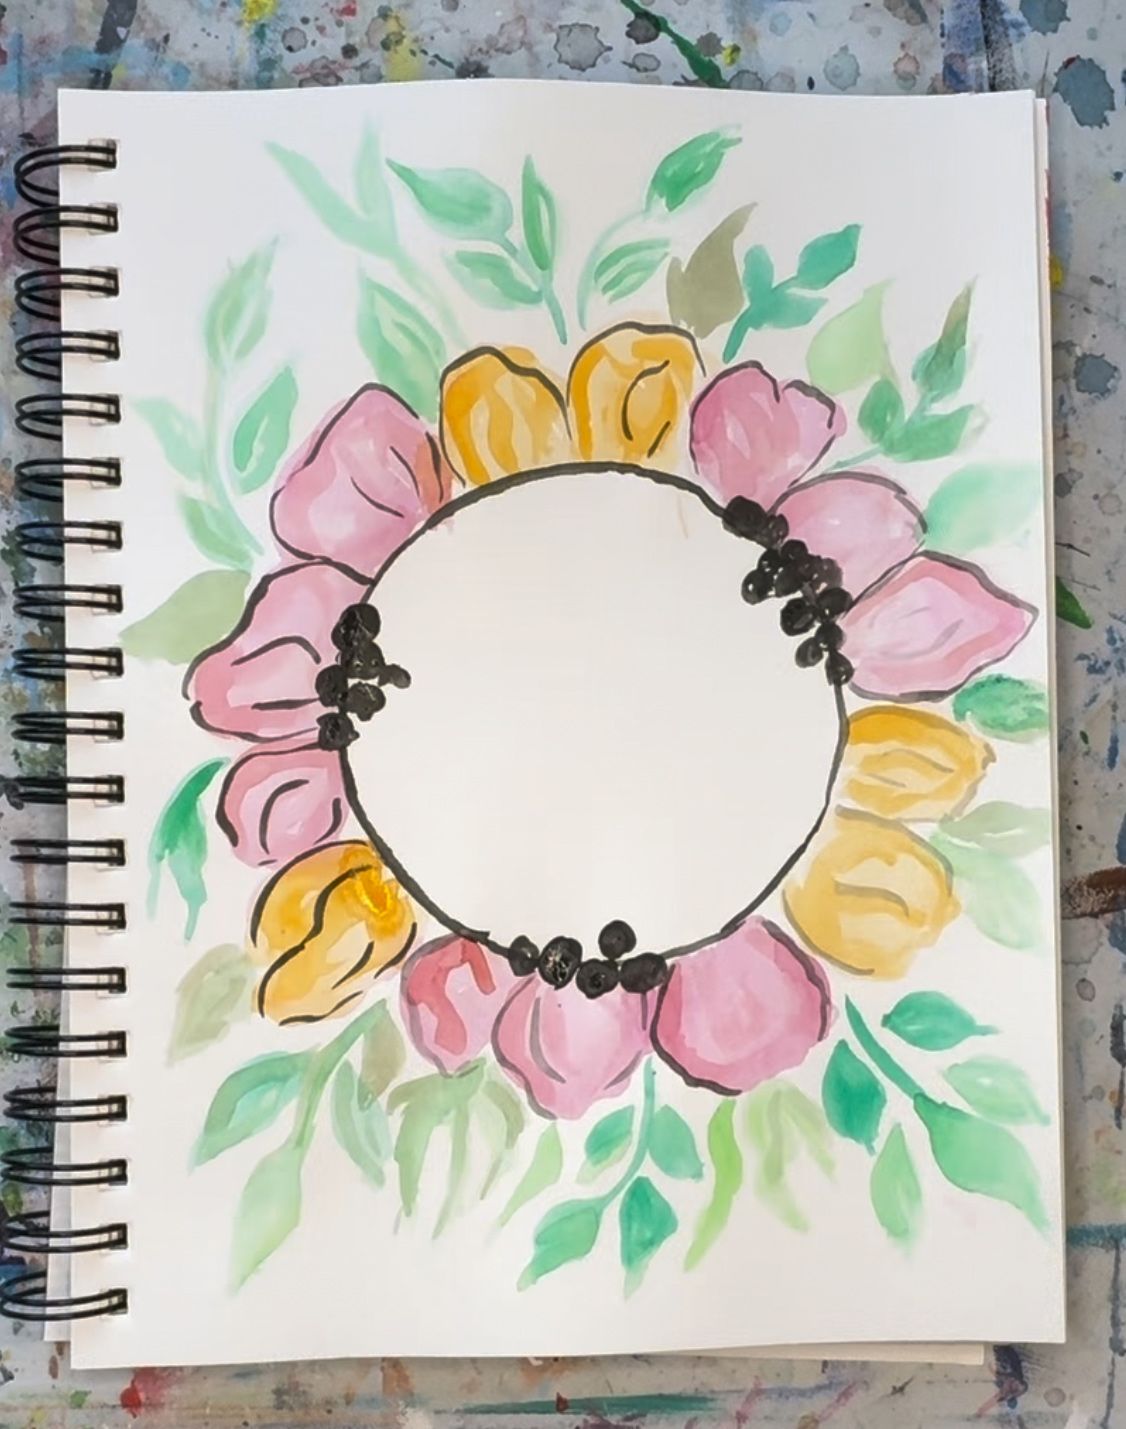
7. Enjoy Your Floral Wreath
Your watercolor floral wreath is complete! Frame it, use it as a greeting card, or simply enjoy your beautiful creation.
Discover the flexibility & benefits of hybrid paint parties at Canvas n Cup. Connect in-person and virtual guests for team building, bridal showers, and more.
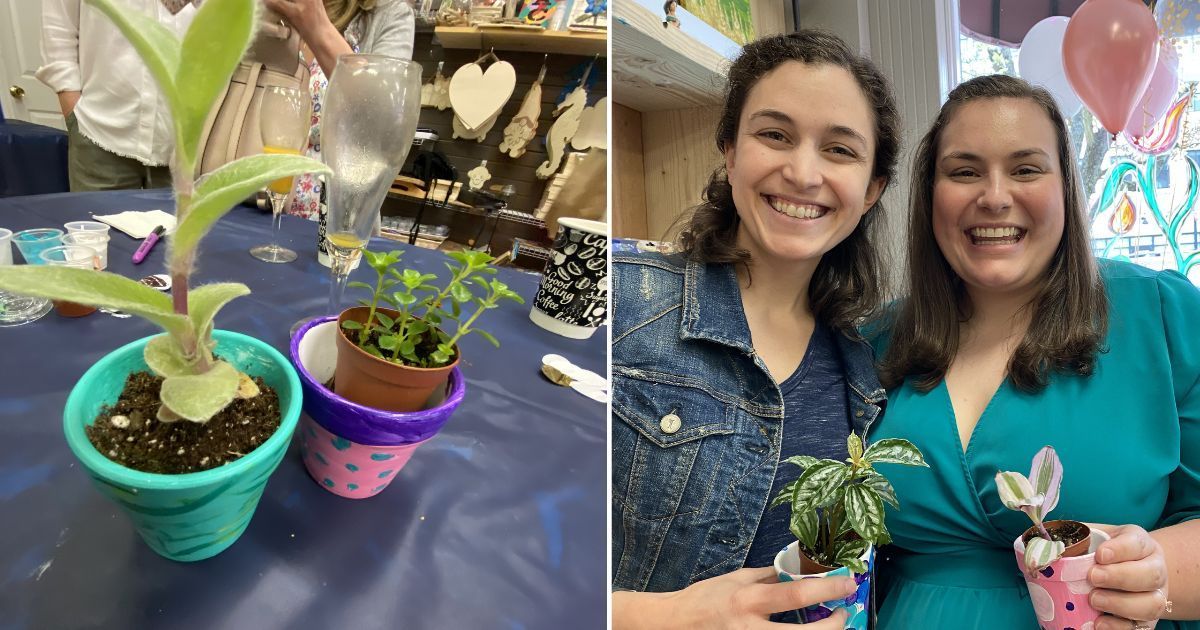
Join us for fun team building paint and plant events! Enjoy private paint parties & creative workshops. Book your event today with Canvas n Cup!
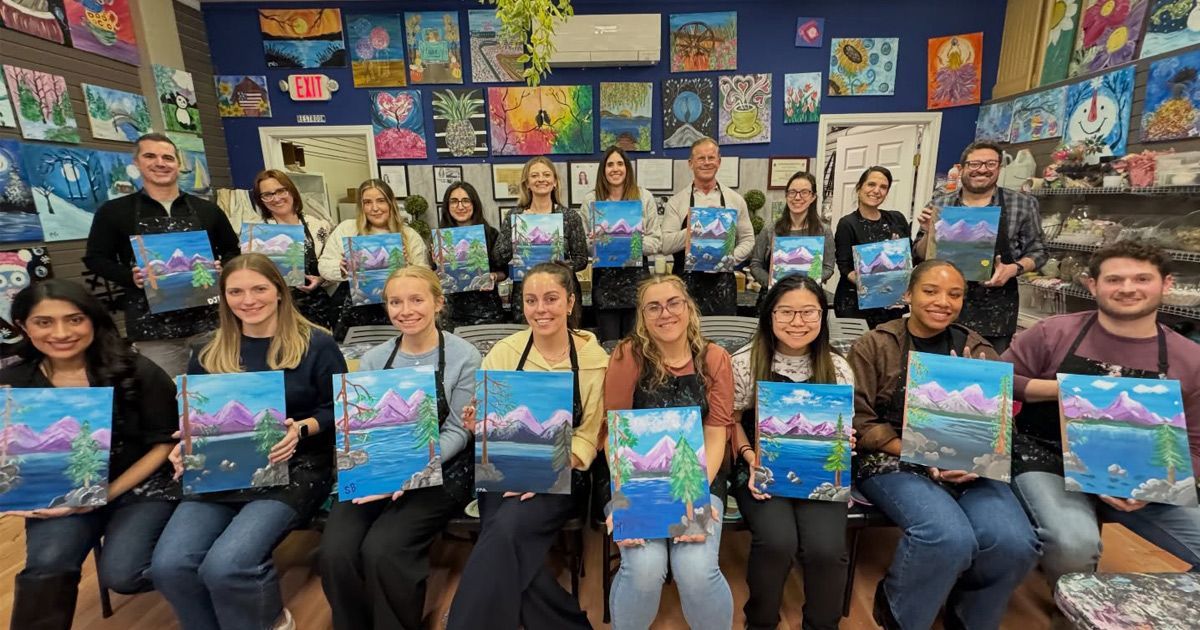
Join us for a creative team building event with paint & sip activities. Strengthen bonds and celebrate together! Contact us today.
Experience a unique dual-track paint party at the John Hancock Building. Perfect for team building & private events. Book your spot today!
Celebrate Mom with Mother’s Day paint party ideas for home, studio, or virtual fun. Discover themes, tips, FAQs, and Canvas n Cup options.
Discover the versatility of paint-at-home sip and paint kits. Perfect for date nights, team building, self-care, and kids' parties. Order yours today!
Discover the best paint and sip date night kits to order online. Canvas n Cup couples kits include supplies and video lessons for a romantic night at home.
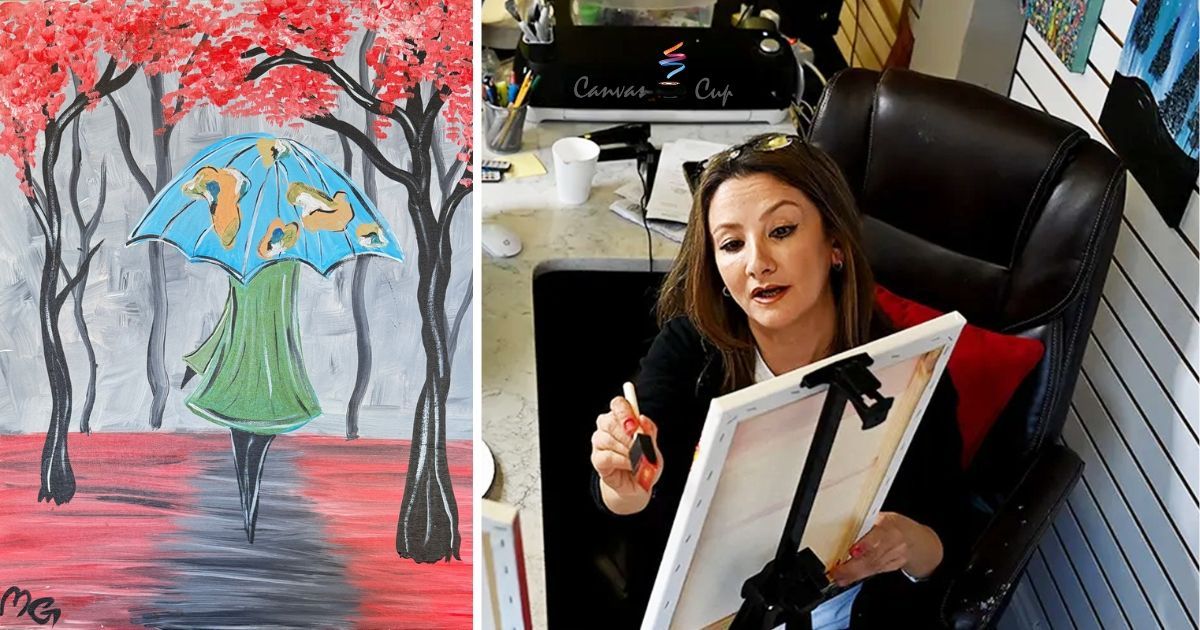
Discover how Canvas n Cup founder Mahsa created a custom painting, “Lady in Green Jacket,” for a Westborough birthday paint and sip. Book your party today!
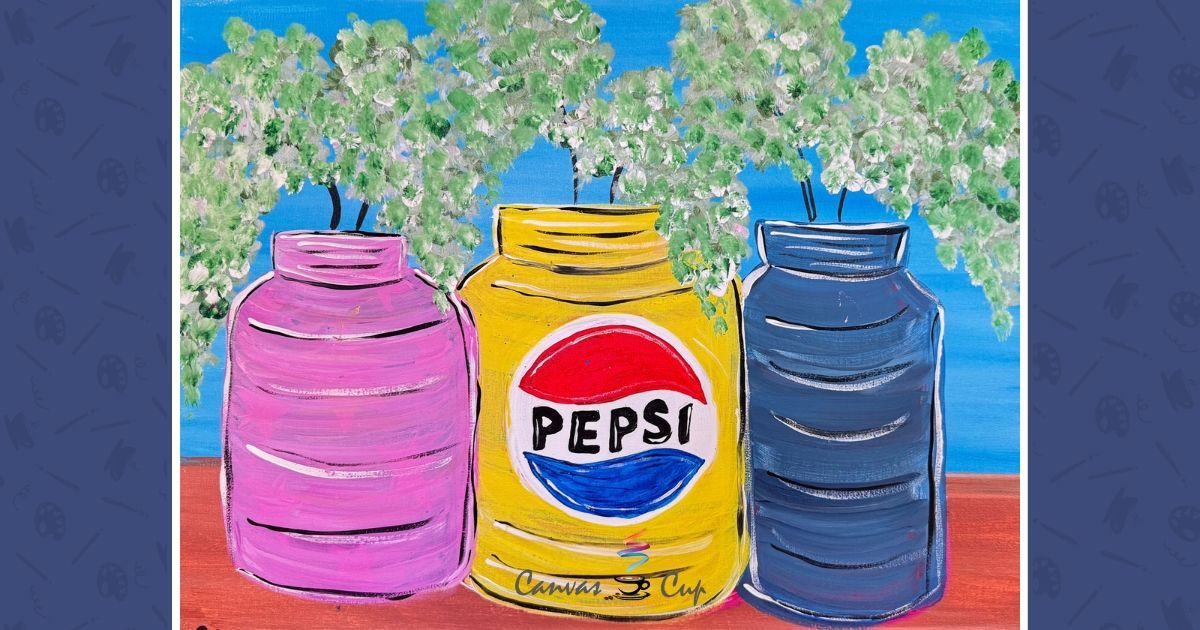
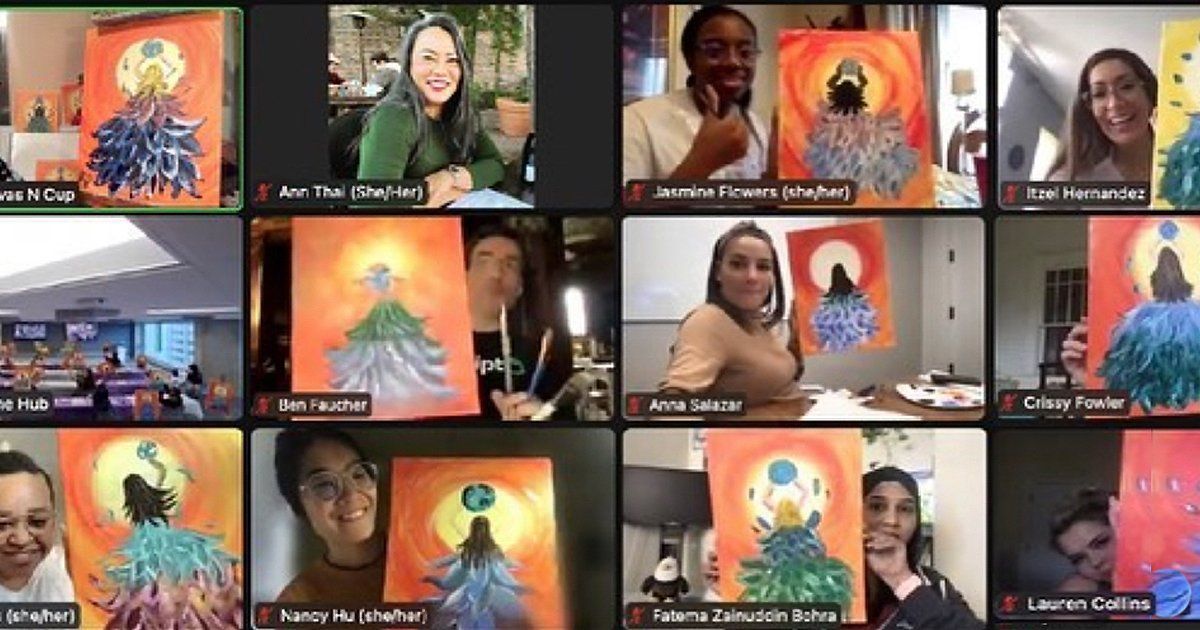
iscover how Canvas n Cup brought Pepsi’s global team together for a virtual paint party - connecting employees across continents through creativity and art. Trusted by Google, Zoom, Yahoo, and HubSpot.
Canvas n Cup helped a team bond through a sunflower-themed virtual paint party. The team building event featured a custom logo painting by Mahsa Ghavamian.